Year of the Dog
Folder: Yearly albums
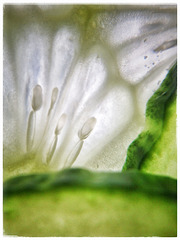
Cucumber
| |
|
|
|
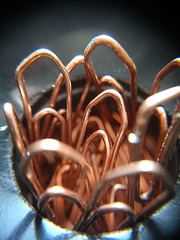
Camera details
Camera: Sony Xperia Z1 Compact mobile phone F5321
Exposure: 1/100 sec.
Aperture: f/2.0
ISO: 40
Focal Length: 4.2 mm (approximately 35 mm equivalent after 1.2 times digital zooming)
Lens: Clip-on macro lens (magnifying glass).
Editing: Snapseed mobile phone photo editing application.
Setting
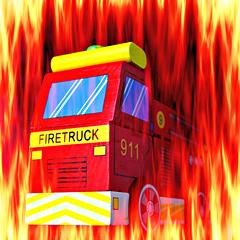
FIRETRUCK
| |
|
|
|
Here is a GIMP guide for self made flames:
1) Open first the image on what you wish to add the effect, to get the EXIF right for the final image.
2) Add a new layer.
3) Fill it with a gradient (black to white) make sure at least 1/4 of your page is white...white for the brightest part of your fire.
4) Run 'Filters > Render > Clouds > Difference Clouds....', set the Details to 3 or more, X Size over 10, and Y Size less than 2. Find the pattern that you like by clicking 'New Seed.'
5) Open up 'Color Balance' and make sure the 'Preserve Luminosity' box is checked.
6) Adjust the Shadows/Midtones/Highlights color levels till you get the desired look of your fire. For example Shadows: 88, -65, -56/Midtones: 71, 35, -49/Highlights: 91, 87, -5.
7) Use the layer either as background or overlapping layer. Or multiply it to add more effects.
Here I made a gradient where's the middle is dark (less flames) and edges are light (more flames). Then I added it to the background with "lighten only" layer mode.
The idea is based on this guide:
www.gimptalk.com/index.php?/topic/1247-create-realistic-fire-with-ease
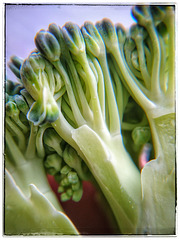
Broccoli
| |
|
|
|
Better light today
| |
|
|
|
Squint
| |
|
|
|
Stretch your arms ...
Tower hotel 6/50
Clash of towers
| |
|
|
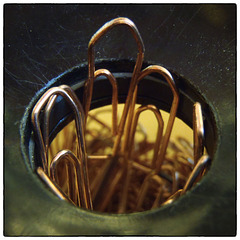
Paperclips
| |
|
|
|
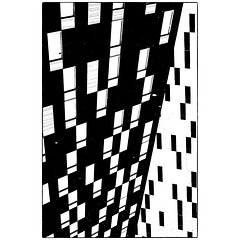
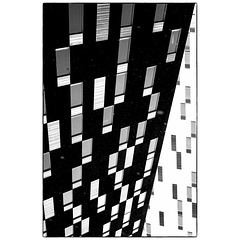
Tech details
Camera: OLYMPUS Tough TG-810.
Focal Length: 6.6 mm (35 mm equivalent: 37.0 mm)
Exposure: 1/4 sec.
Aperture: f/4.7
ISO: 320
Editing: GIMP & Nik Collection
Giddy
| |
|
|
|
Big smile
| |
|
|
|
Quite serious
| |
|
|
|
No parking zone
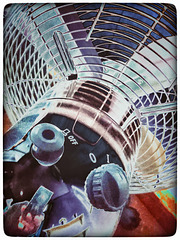
Fan
| |
|
|
|
Tricks done on Snapseed:
- N-shape curves for posterisation
- Vignetting
- Saturation (more colorful)
- Enhance details
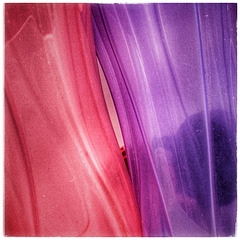
Two plastic bottles
| |
|
|
|
The secret is in details. I absolutely love the way how mobile phone cameras and editing applications allow one to play with images. It may not turn one to any great artist, but at least it is a way to improve one's ability to see beauty on mundane scenes.
Here I took a picture of two plastic bottles, and edited the image on Snapseed application. One of my new tricks is to "squeeze" the picture from the original aspect ratio to a square. Then the so called "fake HDR" algorithm works very well on Snapseed. It often gives a nice touch even when there is no obvious need for it. And finally some improvements produce a fine grain that pleases the eye, I think.
Ultimately it of course much depends on how good images the camera can take (resolution and dynamic range especially in dark). This current phone camera of mine does just excellent work. Or at least good enough for me.
The whole scene on PiP/note, and also on the first comment.
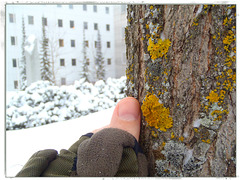
Size of the lichen
| |
|
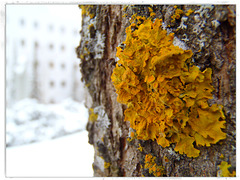
Xanthoria
| |
|
|
|
For my surprise lichen is very common on trees. One just don't usually notice it. This tiny Xanthoria I found right outside the university, growing on rather young maple tree.
Tech details
Camera: OLYMPUS Tough TG-810.
Focal Length: 6.6 mm (35 mm equivalent: 37.0 mm)
Exposure: 1/40 sec.
Aperture: f/4.7
ISO: 160
Editing: PicMonkey
Another picture to illustrate the size of lichen, and show some more of the surroundings:
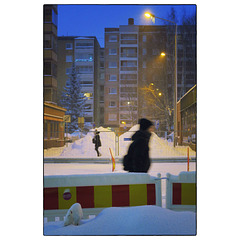
Snowy Friday
Jump to top
RSS feed- Latest items - Subscribe to the latest items added to this album
- ipernity © 2007-2024
- Help & Contact
|
Club news
|
About ipernity
|
History |
ipernity Club & Prices |
Guide of good conduct
Donate | Group guidelines | Privacy policy | Terms of use | Statutes | In memoria -
Facebook
Twitter
