2015 Windshield Webcam Project
Folder: Travel Stuff
08 May 2015
Next Up
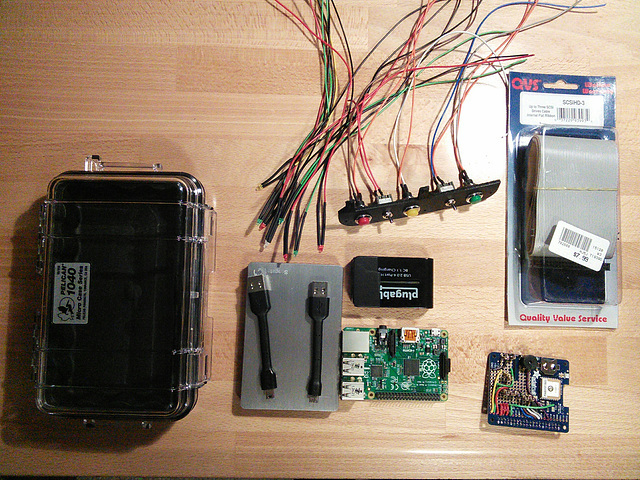
The makings of the "flight" version of the Raspberry Pi windshield time lapse camera. All that stuff has to be packaged into the black box on the left.
11 May 2015
Non-Beauty
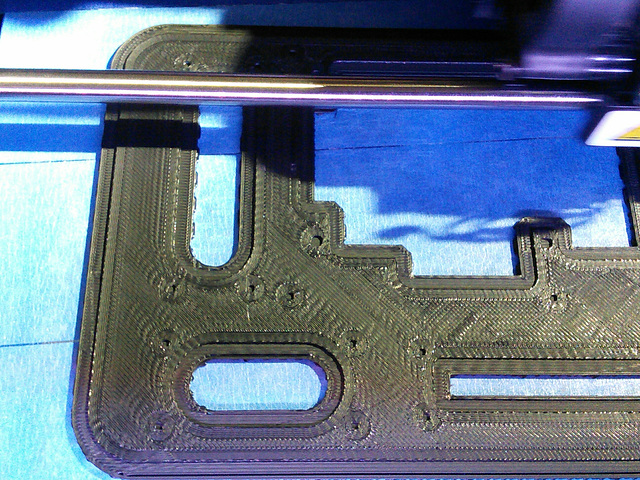
There may be something I am missing about the algorithm that determines how a print is laid down, but this pattern is so ugly that I can't see it being optimal.
13 May 2015
Semi-Realistic Portrayal
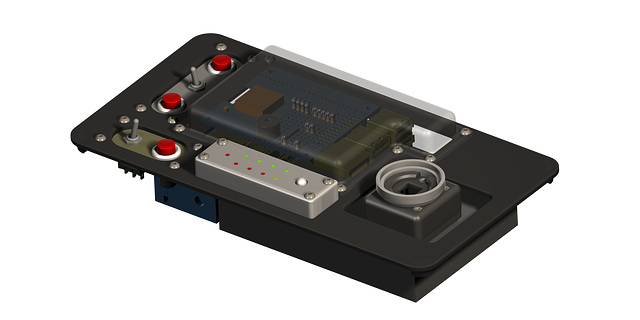
CAD rendering of roughly what Windshield Webcam v.2 will look like when done. The cover in the middle won't actually be transparent, and the Pelican box it fits in isn't shown.
For scale, the transparent cover is roughly 3" x 5". The white ring on the camera head is 30mm in diameter. The whole thing is about 8" x 4" x 2.5".
14 May 2015
Camera Head Backplate
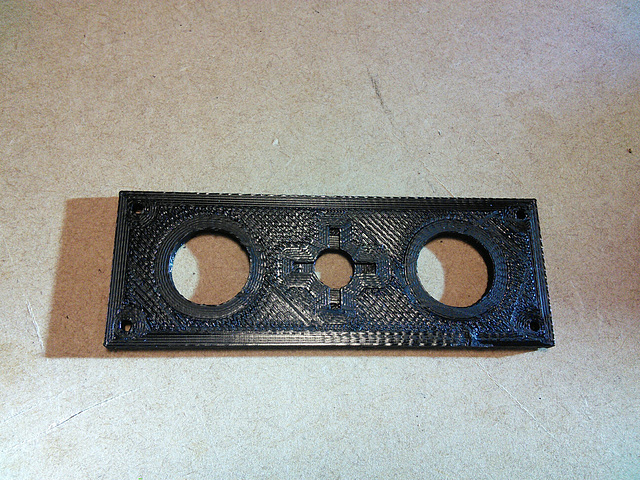
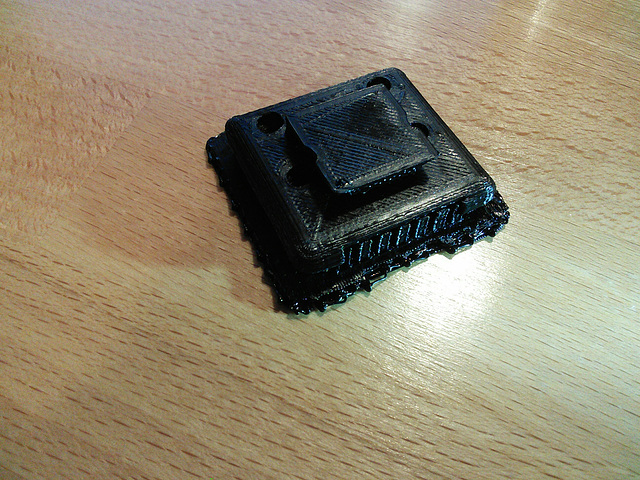
The rear of the case for the Pi Camera housing, and the first print from the new M3D Micro printer. The hump on the back is a hot shoe mount, and the fluting on the near side and irregular perimeter are print aids (supports and raft) that snap off.
It's actually a lot cleaner and more dimensionally accurate than it looks - the shiny black plastic is difficult to photograph, especially with a tablet.
Note that the assembled head in later pictures uses a different case design.
16 May 2015
The Semblance of Assembly
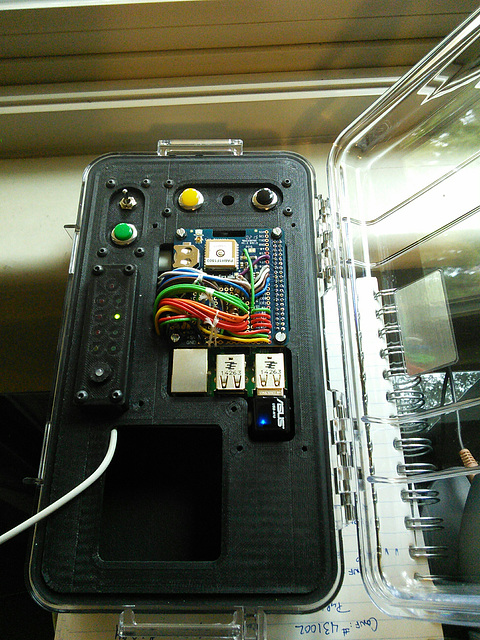
The electronics work is now essentially complete. Just need to rework the power line feeding the powered hub to hook in the on-off switch that fits in the empty hole in the upper right.
After some initial concern that the GPS module may have been defective, it appears to work fine. Better, once I did a little cable-tie work (note the loops of dental floss on the colored wires) to hold the wires away from the square antenna. With the upstairs deck partially occluding the sky from the office window, it manages to get an intermittent fix. Whew.
Now to print the cover that conceals the board and USB sockets.
Still to go: the aforementioned power switch splice and associated connections to the LED panel, printing the cover, and cutting holes in the case for the HDMI connector to the camera head (waiting for the adapter to arrive), the power socket, and the external antenna connector. Oh, and lots and lots of programming...
26 May 2015
I'm Impressed
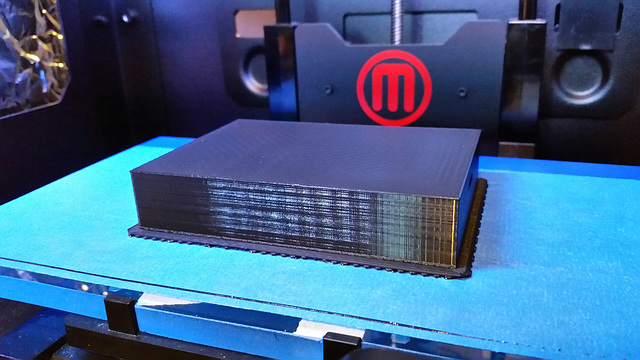
As close to perfect a print as I have seen this thing produce.
The side surfaces are actually as smooth as glass - the patterning is only optical.
29 May 2015
A Little Head
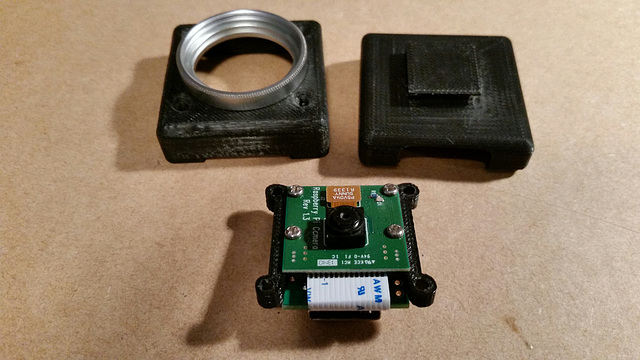
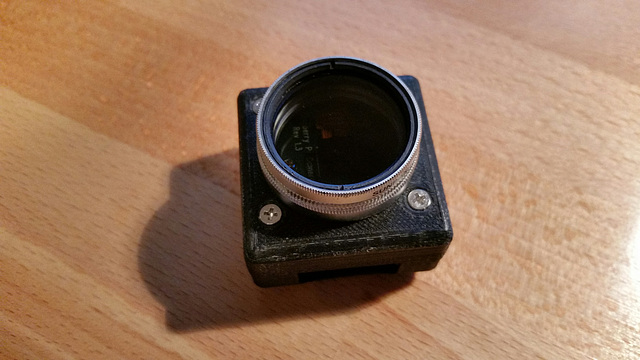
Picamera, Petit Studio HDMI adapter , a printed case and mounting flanges (black mouse-ears on the sides of the camera), and a filter ring (30mm UV filter with the glass broken out).
May need to redo the mounting flanges - the HDMI socket sits too far inside the case in the maker-suggested configuration.
Jump to top
RSS feed- Latest items - Subscribe to the latest items added to this album
- ipernity © 2007-2024
- Help & Contact
|
Club news
|
About ipernity
|
History |
ipernity Club & Prices |
Guide of good conduct
Donate | Group guidelines | Privacy policy | Terms of use | Statutes | In memoria -
Facebook
Twitter
