5x7 lensed
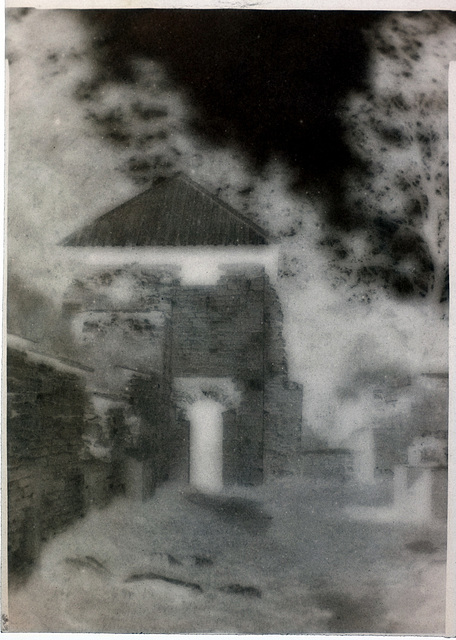
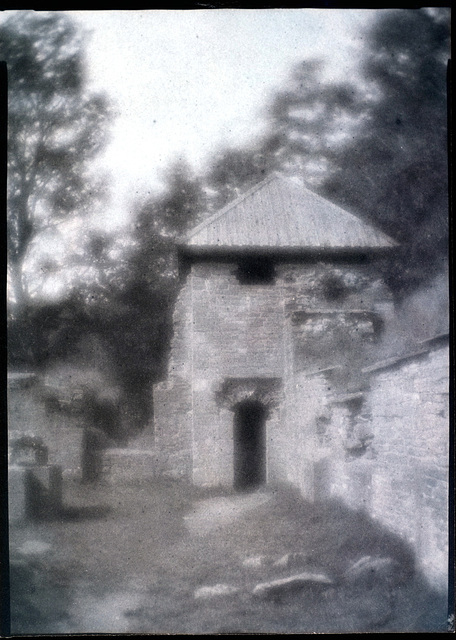
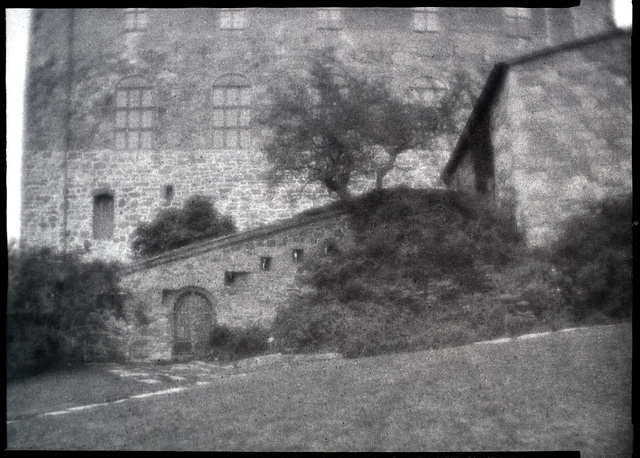
Hovedøya Kloster calotype I
Ruins of Hovedøya Kloster, a 12th century Cistercian monastery on the island of Hovedøya in Norway.
Trutat variant of a Pélegry calotype.
5x7 Eastman No. 1, Replica of Wollaston meniscus
(some soft focus effects at this aperture)
11:30am sun: LV ~14.5, f/4.8, 2.5 minutes
07 Aug 2017
2 favorites
Hovedøya Kloster (cloister) I
Inverted digi-snap of a calotype
I'll replace this image if/when I make a real print.
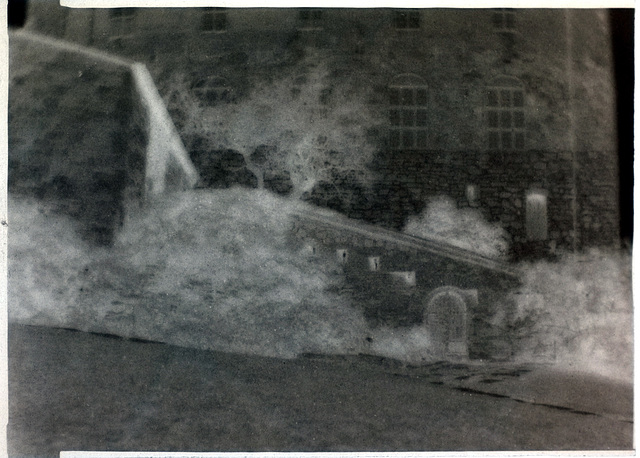
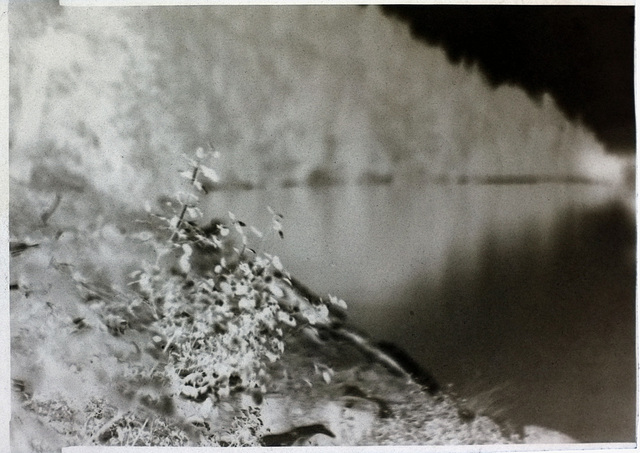
Akershus Festning Calotype I
Calotype of Akershus Fortress in Oslo, Norway. Last day of our visit, the light was failing and the wind was blowing. Everything was moving except the stones! There are 2 more made near this location from different days, still to be developed.
I love that apple tree standing there bravely, and hope the others come out well.
Trutat variant of Pélegry Calotype.
5x7 Eastman No. 1, Replica of Wollaston meniscus lens.
LV ~12.5, windy, no direct sun.
15 minutes, F/5.6
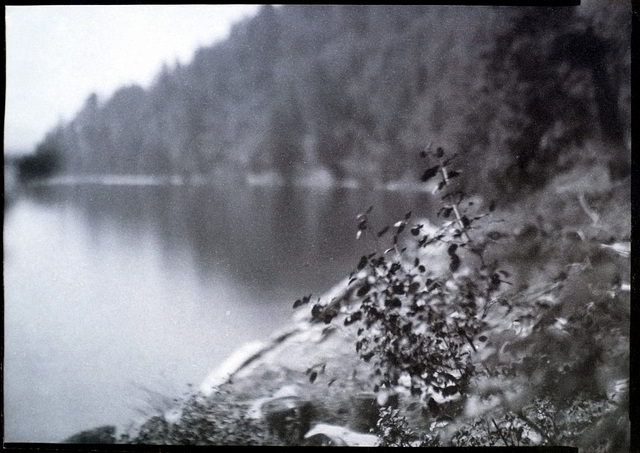
Lake calotype
This was a test of Trutat's variant of a Pélegry calotype. ( Instructions here ) What makes this kind of calotype special is that it uses a preservative, so that the calotype does not need to be used and developed within a day of preparing it. This calotype was prepared on 30 June, the photograph was made about 3 weeks later, and it was developed 3 weeks after that. So this is a very good success.
Just before making this photograph, I was practicing actinic focus corrections with an uncoated simple meniscus lens, and I accidentally made the correction for this one which doesn't need it. The correction took away some highlight glow in the foreground.
5x7 Eastman No. 1., modified velostigmat.
3 minutes, f/5.6, some breeze.
02 Jul 2017
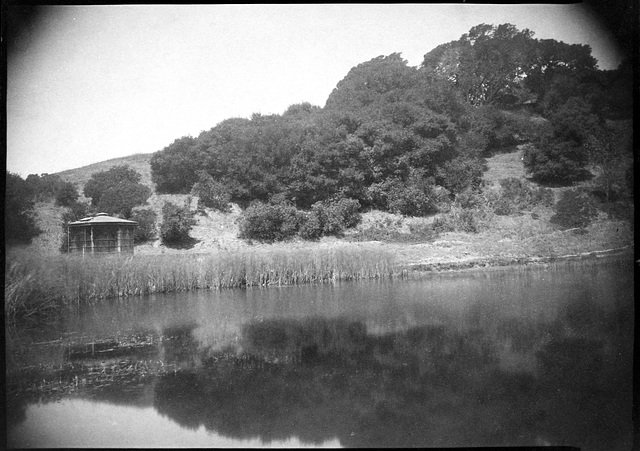
Fish Pond Calotype
A fellow was actually fishing on the far shore and caught a couple small bass during the exposure.
Usually a calotype must be used within about a day of being prepared. This is one of the only types that uses a preservative so that it can be used and developed much later. Extensive notes below.
First attempt at Trutat's variation of Pelegy calotype . 11AM Summer sun. LV 14 sky, 13 hill, 12 water. F/11 16 minutes. Eastman No. 1 5x7
First time using this camera and first time trying this calotype process. The camera was low in front of a wall I sat on, and I did not crane my neck to check the lower corners – Obviously I need to be careful to check coverage with this lens!
Develop: no visible image. 75g gallic acid in 100ml DH2O, added 1 scant eyedropper ANS, and it seemed to be coming up very slowly, so I added another at about 5 minutes. After 20 minutes, it did not appear that the sky was getting darker, but the shadows were beginning to get too much tone, so I decided to stop rather than end up with low contrast. I would prefer to see darker sky and I think it needs a little more exposure next time, and then a little slower and longer development. Washed 2x10 minutes, then 2 x 10 minutes hypo, brief wash, then 3 minutes in 1% sodium sulfite, then 1+ hour wash in changes of RO water.
Full details of the process:
I followed the Trutat's rice water version instructions pretty closely, except no elemental iodine added to the iodizer, I sensitized the sheets individually rather than several at a time, and used gallic instead of pyrogallic development.
Rice water: generally following Le Gray's instructions ( boil 7 oz. rice in 6 pints of water until the grains crumble between the fingers, before the solution gets thick and glutinous ). I don't know if Le Gray is using volume or weight for the rice, but I've done this several times now. I washed 2 slightly rounded tablespoons of rice ( Thai “jasmine rice” is what was on hand ) until the water was clear of white starch. Then I added 1 pint of DH2O and brought to a boil, stirring with the wooden spoon and checking the rice grains every minute or so until they crumble easily between the fingers. It reaches this point not long after boiling if you start with cold water and heat it up with the rice in it. I've been using a stainless steel pan and a wooden spoon, and so far no indication of contamination ( w/ salt prints or now with this process ) Filter 3 times through a cotton ball in a funnel. You might need to change the first cotton ball to finish the first round of filtering, it will have a slimy slippery feel, which will be not be there for the later cotton balls. Don't try to filter starch solutions through paper. I've used cloth but I think the cotton balls do a better job of removing the gelatinous part while leaving the very fine starch grains. This will make slightly less than 400 ml of rice water.
Trutat's iodizer is 1.5% KI, 0.4% KBr, 4% lactose and 0.05% I in rice water.
To make 400 ml, I added the still-warm rice water to:
6g KI
1.6g KBr
16g lactose
Topped up to 400 ml with 10 or 15 ml of DH2O.
Paper was Canson opalux, cut to 6x8 inches. This paper expands when wet and shrinks when dry. After it is all sensitized and dried for the final time, I cut it to size for my holders. Cutting ahead of time risks being too narrow to fit under the rails, and it likely needs trimming anyway. The margins also allow handling around the edges without worry. I also didn't bother with the little tag of paper on the drip corner, since the margins will be trimmed away.
Sheets were immersed one by one, being careful to avoid bubbles ( a nice thing about opalux is that it is easy to see any bubbles underneath the paper ). 5 or 6 sheets at a time, flip the whole pack over, check for bubbles again, then iodize for 20 minutes. Remove one at a time and hang to dry overnight. The paper will curl when it dries, but can be flattened again under a heavy book. Probably the hardest part of the whole process is gathering together the curly, stiff and unruly papers, and making a stack of them to put under the book. But they do press nicely flat again... enough to be sensitized after one day and flat enough to use in the camera after a couple days.
Sensitizer is 10% AgNO3, 4% acetic acid.
Before sensitizing, I also made up the first wash: 1 to 2% acetic acid
And the salt bath ( see below ),
And the preservative: 5% tannic acid, 5% lactose.
Sensitizer:
20g AgNO3
8ml glacial acetic acid
200ml DH2O
1st Acidic wash:
6 ml glacial acetic acid
500 ml DH2O
Salt Bath ( as per Pelegry ):
4g NaCl
500 ml DH2O
Preservative, made the day before:
10g tannic acid ( light brown variety from B&S )
10g lactose
200 ml DH2O
Heat and stir until dissolved. I filtered 3 times through a cotton balls in a plastic funnel. Compared to what I've read about dealing with dextrin, this was very easy. It has a somewhat pleasant smell that reminds me of something but I can't place it...
I sensitized each sheet individually for 4 minutes, then put it to hold in a tray with the 1st acid wash. When 5 sheets were done, I then let the wash go for 10 more minutes.
Then 2 more 10 minute washes, the first one with several changes of DH2O.
Then 3 minutes in the salt bath
Then 3 x 20 minutes wash in DH2O
and finally a 3 minute bath in the preserver, and hang to dry in the dark over night.
It took me a couple hours to sensitize 5 sheets. More sheets would not have taken very much longer, only about 5 more minutes each.
Next day, gather the dried and curly sheets together again and press under heavy book. Over the next couple days, I turned the stack over several times and made sure the edges were being pressed ( to avoid waviness near the edges ). Finally, trim to about 1/16th of an inch less than 5x7 inches to fit into film holders. All in dark, of course.
Each time I pressed the stack under the heavy book, the stack was inside an unsealed ziplock bag to help protect the paper and keep the air out.
For development, I used gallic acid instead of pyrogallic, and I used my normal ANS which is about 6% AgNO3 and about 9% acetic acid. This is stronger than the 3% AgNO3 and 1% citric acid mentioned by Trutat. As noted above, next time I will try a little longer exposure and a little less ANS.
Development notes:
The one time I tried opalux with Greenlaw's process, I noticed the hypo turned “dark” ( later I saw that my hypo waste bottle had turned green! ) and I got terrible blisters in the paper. My impression was that the blisters appeared during washing, but I was not completely certain of that.
I do always add a pinch of sodium carbonate to my hypo, to avoid H2S, and I usually fix 2 x 10 minutes, or until all visible silver iodide pale yellow is removed.
This time, again the 1st bath of hypo turned dark, so I peeked with some incandescent light and sure enough it was green. The second hypo bath remained clear. The opalux stuck somewhat to the bottom of the tray and I'm not convinced I fixed completely. When the calotype came out into the light it turned a faint pink color, which disappeared during washing but was probably residual AgI on the bottom surface. In the future I will be sure to flip the calotype over several times during fixing. The problem was that my tray was 5x8 and the expanded wet paper didn't quite fit, and tended to stick to the bottom.
I did not see any blisters at the start of the wash. I checked again every 10 or 15 minutes when I changed the water, and did not notice any. But after 1 hour and 10 minutes, there were small blisters visible. I am not 100% sure when they formed, because they were subtle and hard to see, but I think they formed in the last 15 minutes of the wash. Next time I will extend the sodium sulfite bath to 5 minutes and reduce the wash to 30 or 45 minutes. Strange that the blisters appear now, but not during the very extended wash sequence after sensitizing... developing the silver image must change the properties of the paper somehow.
The calotype was dried between blotters, under a stack of books. I changed the blotter after a few hours, and again the next day. The day after that it was dry and very flat, and I cannot see any indication of where the small blisters were.
A Greenlaw calotype would have already been fogged on the day I made this one. The prepared papers don't look any different today than they did 4 days ago ( at least under a safelight ). I can't see any hint of fog, and the extended process of making these is worth the trouble if the calotypes can be used much later and developed later too. We'll see how it does but so far it looks good. I iodized 12 more sheets – the last of my opalux supply – today.
02 Jul 2017
Fish Pond
Inverted digi-snap of calotype. I'll replace this eventually with a salt print, but it won't be until late summer.
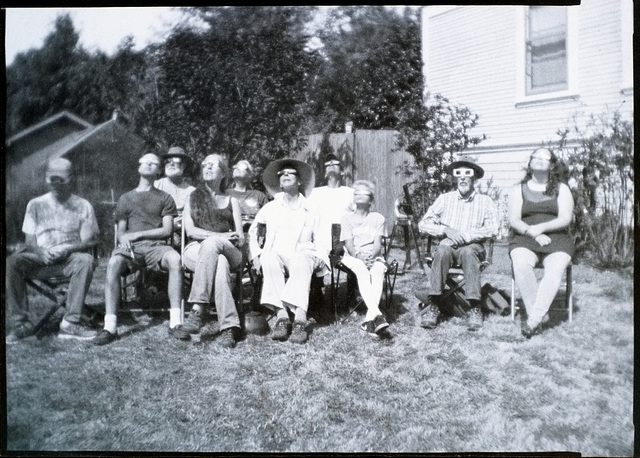
Eclipse Day
Inverted digi-snap of a calotype. Fun day!
Jump to top
RSS feed- Latest items - Subscribe to the latest items added to this album
- ipernity © 2007-2024
- Help & Contact
|
Club news
|
About ipernity
|
History |
ipernity Club & Prices |
Guide of good conduct
Donate | Group guidelines | Privacy policy | Terms of use | Statutes | In memoria -
Facebook
Twitter
